Looking to Buy a New Samsung Fridge? Consider This
Watch Out for These 10 Fridge Warning Signs
How To Prepare Your Kitchen For The Insanity Of The Holidays
It's that time of year again, when we're running around trying to figure out where the roasting pans went to and how is it that Aunt Marge makes her spinach balls. The worst nightmare that any of us can encounter is to have one of our appliances break just days before we're due to have a house full of guests, but we see it every year. You have 20 people coming and in trying to get the house clean, you decided to let the oven or the dishwasher clean itself, and now it's not turning on. Why not save yourself the hassle and check at the beginning of the month to make sure that everything is working as it should? Follow our guide and you can bet that your holiday will go that little bit smoother.
Yes you're going to want to clean all of your appliances the same way you do the rest of your house, but taking a few minutes to look closely at these different areas can save you a headache as we get closer to the end of the month.
Can Your Fridge Breathe?
-Cleaning out your fridge isn't just about getting rid of last week’s pot roast and making room for all of the ingredients. It's also about making sure that your fridge and freezer have enough circulation. Make sure that your fridge has space and that containers aren't shoved into the corners never to see the light of day again.
-While you're at it, take a close look at the seals on the doors for your fridge and freezer. Are they still closing right? Are they dried or rotting?
-When was the last time you changed your air or water filters? With opening and closing your fridge more often in the coming days, these filters are going to get a workout. If they aren't clean you'll end up with ice and water that tastes "off" as well as leaving your fridge struggling to cool down.
All three of these work together to ensure that your fridge can get cool, stay cool, and keep that cold air locked inside and your food from going off well before the expiration date.
Step Away From The Self-Clean Button!
No, we mean it. The self-clean button, especially on older models, is far more likely to make it so that your oven never turns on again. The function works by turning the heat up far higher than you'd normally cook at to burn anything within to ash. Which is well and good, but it means that it's all too common for those same temperatures to damage your heating elements or electrical wiring as well.
-Instead, consider using this method. It takes elbow grease, but it won't break your oven nor is it going to require harsh chemicals.
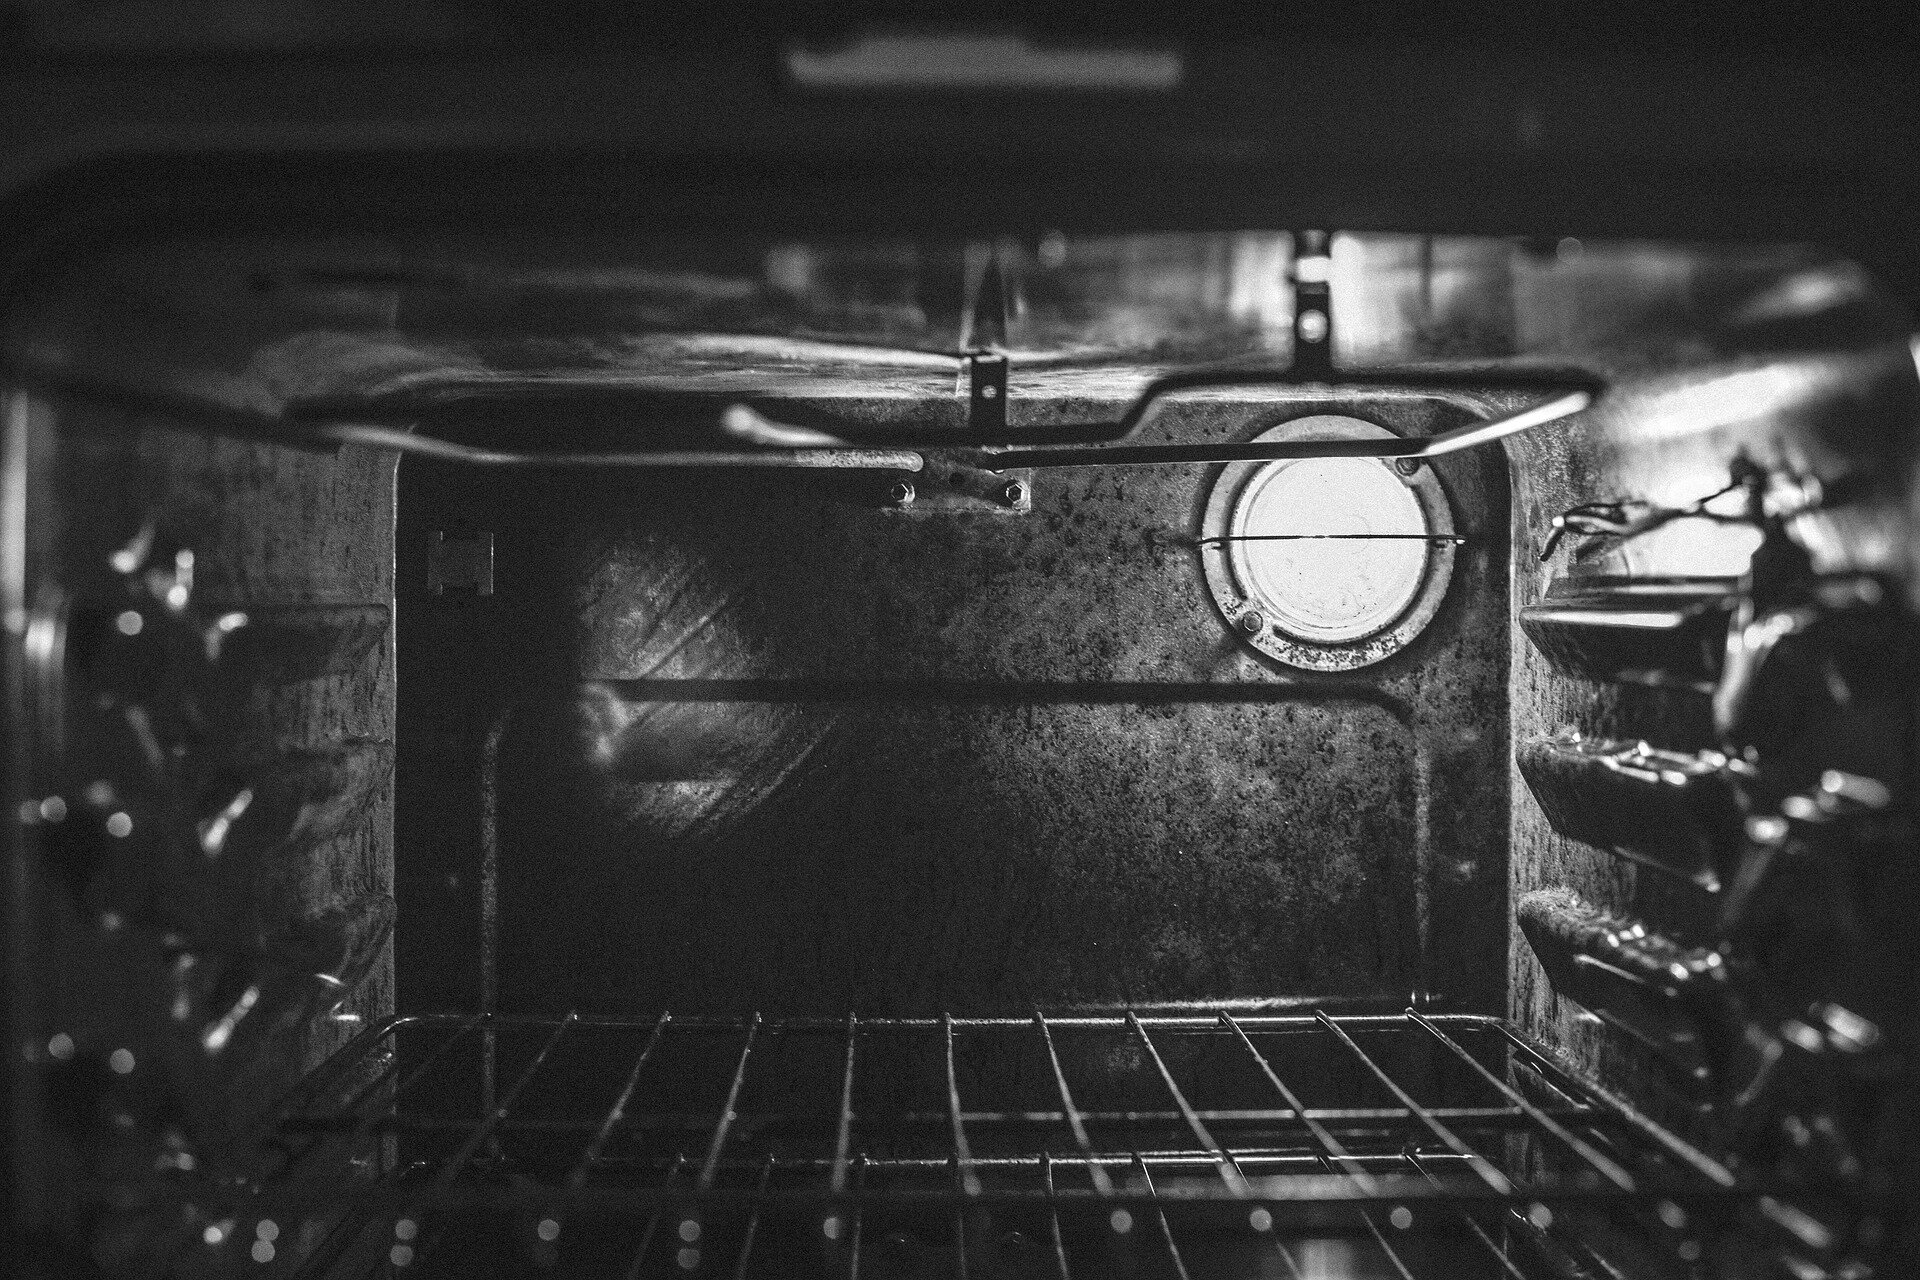
Start by removing all racks from the oven and sweeping out any debris.
From there you can mix together a paste of 1/2 cup of baking soda, and three tablespoons of water.
Spread that on the inside of your interior while making sure that you keep it off the heating elements.
Let it sit overnight or for a minimum of 12 hours.
From there you can wipe it down with a wet washcloth, making sure that you get rid of all of the paste.
Then spray vinegar into corners and creases to get rid of any residue. Repeat these steps until your oven is clean as new!
-Is your oven heating properly? If you've had to round up or down from what a recipe said while you were cooking, you might need to consider that it's not. You can get an infrared thermometer to test and find out if things are working as they should. If not, it could be that the heating elements are beginning to go. While this is one that can be 'worked with' at least temporarily, it is an important thing to keep an eye on as it can quickly go from "workable" to "dead."
Is Your Stove Hot Enough?
When you're cleaning your stove, take the time to inspect both the burners and the ignition sources.
-If the burners are rusted they aren't going to transmit heat evenly. (We've had it happen that one half of a pot burned while the other half ended up under-cooked.)
-The ignition sources are a quick check, but equally important. Give them a few clicks and see if they're firing properly. If not, it might be time to get them replaced.
Is Your Dishwasher Running?
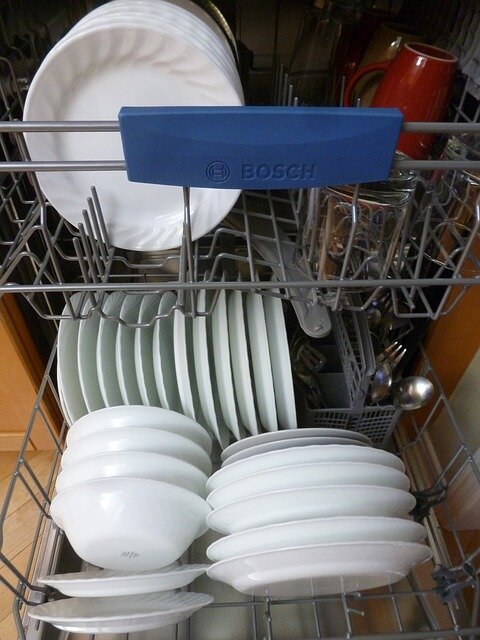
Jokes aside, after you've been cooking and enjoying time with family, you don't want to do dishes. And saying you don’t want your dishwasher to break is a bit like saying you don’t want a bone to break. Now is the time to make sure that everything is as it should be.
-Is it draining properly?
-Are the filters at the bottom of the dishwasher clean of debris?
-Is it leaving a residue either of food or soap when the dishes come out?
Once you've gone through and made sure that everything is running as it should be and still in good repair, it's time to dig in and start cooking!
If you find out that any of your appliances aren’t working properly, now is the best time to find out so that you can call in a professional to take a look. It's better to find out now than the night before you're due to have a house full of guests, or worse when they're on the way! What about you? What do you do to get your house ready for the holidays?
Garbage Disposals : What Can You Throw Down Them?
I feel like there is a misconception on what can and can’t go down a garbage disposal. I currently live in a home that is extremely old. Not saying all the appliances in my home are, but some just may be. I made the mistake of throwing meatloaf down the disposal, had it back up, and nothing would drain after that! My landlord had to come and it was a complete disaster. Long story short, I learned my lesson and am super cautious about what can go down there! But the question is, what can’t go down it? Well, we are here to find out!
1. Bones :
I feel like this one just makes sense, but hey I guess you never know! Bones will never grid up in the disposal and will always continue to spin around and around down there! Not to mention, it would clog the pipes up tremendously!
2. Celery :
You may have thought that this was okay to throw down the disposal. I did too! But apparently, with celery being as fibrous as it is, with all the stringy textures it has, it is impossible for you to throw it down the disposal. They will get tangled around your blades, leaving a huge mess! You don’t want that!
3. Coffee Grounds :
This one really caught me off guard! You would think that it will eventually dissolve and what not, but, it is the complete opposite. The grounds will turn into a sludgy mess, clogging your pipes!
4. Eggshells:
Growing up, my mom always threw egg shells down the drains. So, as I began living on my own, I totally thought this was normal to do. Apparently, we were both wrong! The eggshells have that membrane lining that will stick to sides of the disposal, resulting in a messed-up shredder! Other people say it is completely fine! I guess that this is one that should just be left for your best judgement!
5. Fruit Pits:
This one goes along the same guidelines as bones. The pits are extremely dense and will never shred. Your blades and disposal will completely break before every starting to grind down. This one just is not going to work.
6. Grease/Oil :
This was one I have always known about, even as a little girl. But why? It’s a liquid, so why would it clog anything? The oil will simply clog your pipes because of the composition of the oil. No, I am not a scientist of foody that can explain to you the composition, but I do know that oil and water don’t mix. Therefore, I would not try allowing oil to go in the drain, that is supposed to be draining water.
7. Pasta/Rice :
This one is a must-not-do. For sure. As we all know, when cooking pasta or rice (any starchy substance) It expands as it cooks. Therefore, if you put pasta down the drain, it will continue expanding, eventually taking up the whole drain. The same as rice!
Who knew that there were so many things that need to be thrown away, rather than down the drain. All I know is that I never want to take a chance on the integrity of my disposal! However, if you ever run into an issue with your disposal, please give us a call to come check it out! We are always available!
List Provided By Delish


