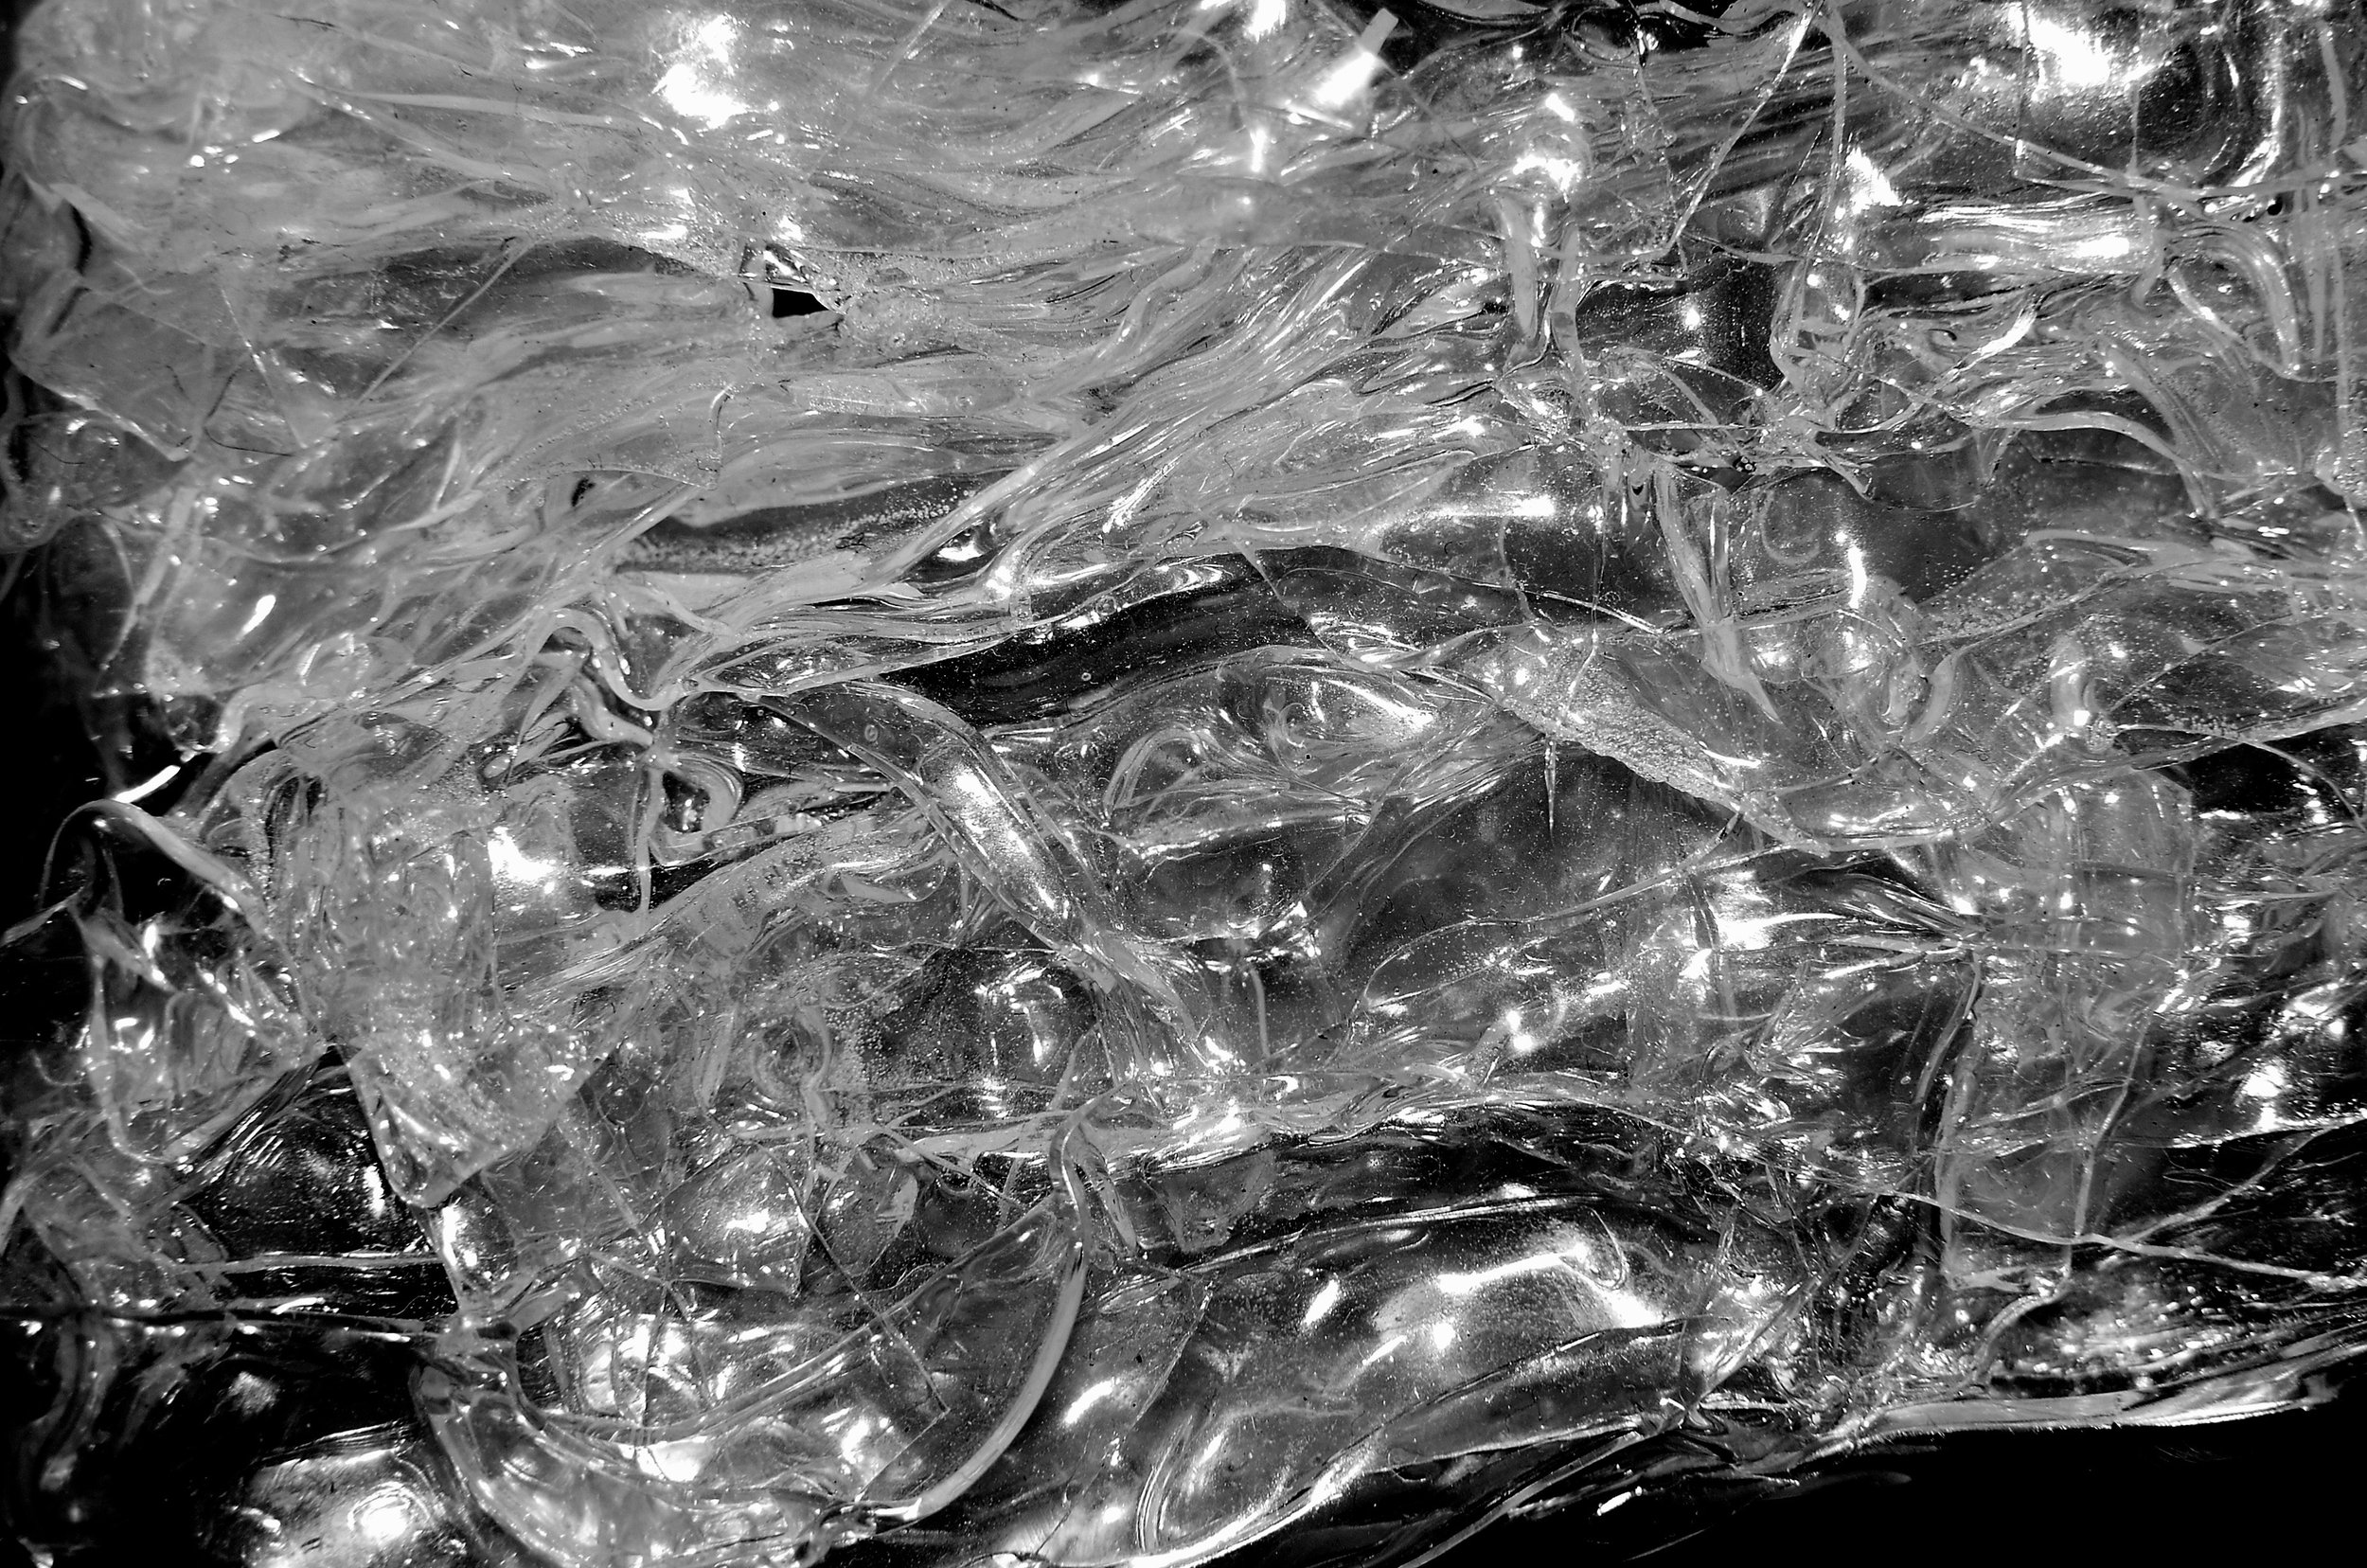
Removing Plastic

Taking the Pain Out Of Melted Plastic

Or, How To Get Melted Plastic Out Of Your Oven

Courtesy of Skylar Kang

Your oven is smelling when you turn it on, and you open it to smoke wafting out. You didn’t light something on fire, you just had a piece of plastic get stuck somewhere. It’s a problem we’ve all encountered, and you’re not the only one. Better still, we’ve got all the steps you’ll need to get the plastic out of your oven without damaging it or yourself. 


Different Procedures For Different Ovens!

  • The Racks

  • Electric Ovens

  • Gas Ovens

  • Ovens With Self Cleaning


Before we dig in a quick note about safety. Please do not try and remove the plastic from your oven with your hands at any point.  Use the tools we have suggested or something similar so that you don't hurt yourself. It's also advised to look over the entirety of the post before tackling your issue. Now let's get into the actual methods you need to know

How To Remove Melted Plastic From Your Oven Rack 


If the melted plastic is on your oven racks, congrats this is the easiest outcome for you. All you need to do is remove the rack from your oven and put it either in your sink or outside. You can then use a scraper or butter knife to remove the plastic. Since there isn't a coating on your oven racks you don't have to worry about damaging them. If you are already exhausted from a long day or don't have the hand strength to chip off the plastic, there is an alternative. What you can do is take the rack set it in your sink and take a large pot full of boiling water and pour it consistently over the plastic. This will heat the plastic enough that you should be able to remove it using a wooden tool. 

How To Remove Melted Plastic From Your Electric Oven


If you weren't lucky and you have plastic on the interior of your oven slowly put down the tools. We're not ready for those yet. Instead, grab a plastic bag that is enough to cover the piece of plastic you are looking to remove. Fill that 3/4 of the way with ice. Lay it on the plastic for at least 10 minutes. The idea is to allow the plastic time to retract and become hard and brittle. After 10 minutes you can grab a razor scraper or a butter knife and very carefully lift up from the outside edges of the plastic. Ideally you should be able to pop the whole piece off. If not then hopefully you will be able to break it off piece by piece using this levering action. Again be very careful though as this can damage the inside of your oven. 


As with most cleaning chores this might take more than one round to get it completely clean.


How To Remove Melted Plastic From Your Gas Oven

If you have a gas oven we're going to start by taking a look at the bottom plate of your oven. Some gas ovens have it where the bottom plate can be removed for easy cleaning. If that is the case with yours go ahead and do that and see if you can put the entirety of the plate into the freezer if that is where the plastic ended up. You'll then proceed to trip off the plastic after half an hour or so.


If you don't have a bottom plate that can be removed then go ahead and use the same cold method that we used for the electric oven.


How To Remove Melted Plastic From Your Oven That Can Self Clean 


If you have a self-cleaning oven this one is going to require something entirely different. Instead of your butter knife and razor scraper you are going to want to grab some wooden tools like a wooden spoon or spatula. Now go ahead and open up all of the windows and grab a respirator like you might use if you were painting. 


Courtesy of Thirdman

Now that you are prepared, turn your oven on to a low heat maybe 150° tops. Leave the oven open during this process. Make sure that you are also wearing your mask and that the windows are open during this process. It is going to stink. Every 5 minutes or so go and poke at the plastic to see when it starts to become soft and pliable. For anybody that makes candy think of it like the firm ball stage.  This is when you'll grab your wooden tools and start to carefully pry the plastic up and away from whatever it is stuck to. Do not use a metal item to pry it. Metal can easily damage the inside of your oven. Self cleaning ovens have relatively fragile inner coatings and as such take very little to become utterly wrecked. 


Did that work for you? Did you find something else that worked better? Let us know over on our Facebook page! 


If you got the plastic out, but your oven is still smoking, give us a call ((214) 599-0055), or you can reach out to us via our contact page! We’ll work with you to figure out a time and date that works for you so our expert technicians can come out and help. 


Dishing on Beeswax Food Wraps

Are they worth the hype, or not worth the buzz?


If you’re looking at greening up your kitchen routine, you’ve almost certainly looked at ways to store food without plastic. Silicone bags and containers, glass jars, stainless steel containers, or stretchy non-plastic lids. But the silicone comes in set sizes, and they’re expensive. Glass jars break, and stainless steel everything gets not only heavy, but LOUD. And the stretchy lids? Those break too. You love plastic wrap for its versatility, and ease, there has to be a way to use something similar. Lucky you, there is, and you’ve probably seen it. Beeswax reusable food wraps. They’re reusable, come in multiple sizes, and if you’re of a DIY bent, you can actually make your own. 


The Good 

Straight off the bat, let’s answer the question you’re here for. Are beeswax reusable food wraps any good for preserving food? Yes, they are. You can use them for preserving fruits, vegetables, cakes or leftovers. You can use them to cover dishes, wrap around a sandwich or just wrap half an onion. Using them for a replacement for storing food in the short term, is perfect in our opinion. The fabric will eventually wear out, but this means that they can be used in your garden or as a  fire starter, so you’re still keeping waste out of landfills. 


Now, those of you paying close attention might notice that we stressed only using these for short-term storage. In researching, we found that the wraps did best at preserving foods between 1-3 days. Our favorite maker, Abeego, claims that their wraps keep food fresh for up to a week. So if you’re taking a dish for lunch, or you’re going to use the rest of that avocado in dinner a few days from now, they’re ideal. 


The Bad


However, if you’re looking for storing something for longer than a week, we suggest looking for something else. They do have a few other drawbacks, but this is the biggest. As to what those other drawbacks are, they all have to do with the construction of the wraps. Thanks to the wax coating, you will get a light coat of wax and oil on your hands or dishes when using them. This is inevitable since it’s your body heat that makes the wraps pliable for use. Fortunately, this is food-safe wax and easily washes off. As we just mentioned, your body heat melts the wax. You need that in order for it to be shaped and to seal to itself. However, this also means that you don’t want to leave the wraps near your stove or exposed in your car, or somewhere else where it will be very warm.  

Now that you know what they’re good at and what they’re not, some of you have hopefully decided still to purchase them. That’s great! We’ll show you how to take care of them. 


How To Care For Them


For cleaning them, you can either brush them off or wash them. Brushing them off works when you’re dealing with a dry food like cake, or bread. Something that’s going to be just crumbs. When washing them you need to use cold water, soap and a soft sponge. Wash carefully and then lay it out to dry. For storage, you can either roll your wraps onto  roll similar to plastic wrap, or you can fold them. Taken care of properly, a good wrap will last roughly a year before the wax ‘gives out.’ Now, provided the weave of the fabric is still solid at the end of that year, you can ‘revive’ your wraps. The Art of Doing Stuff shows you how over at their blog. This means that you can continue to use your wraps even longer, saving your wallet. 

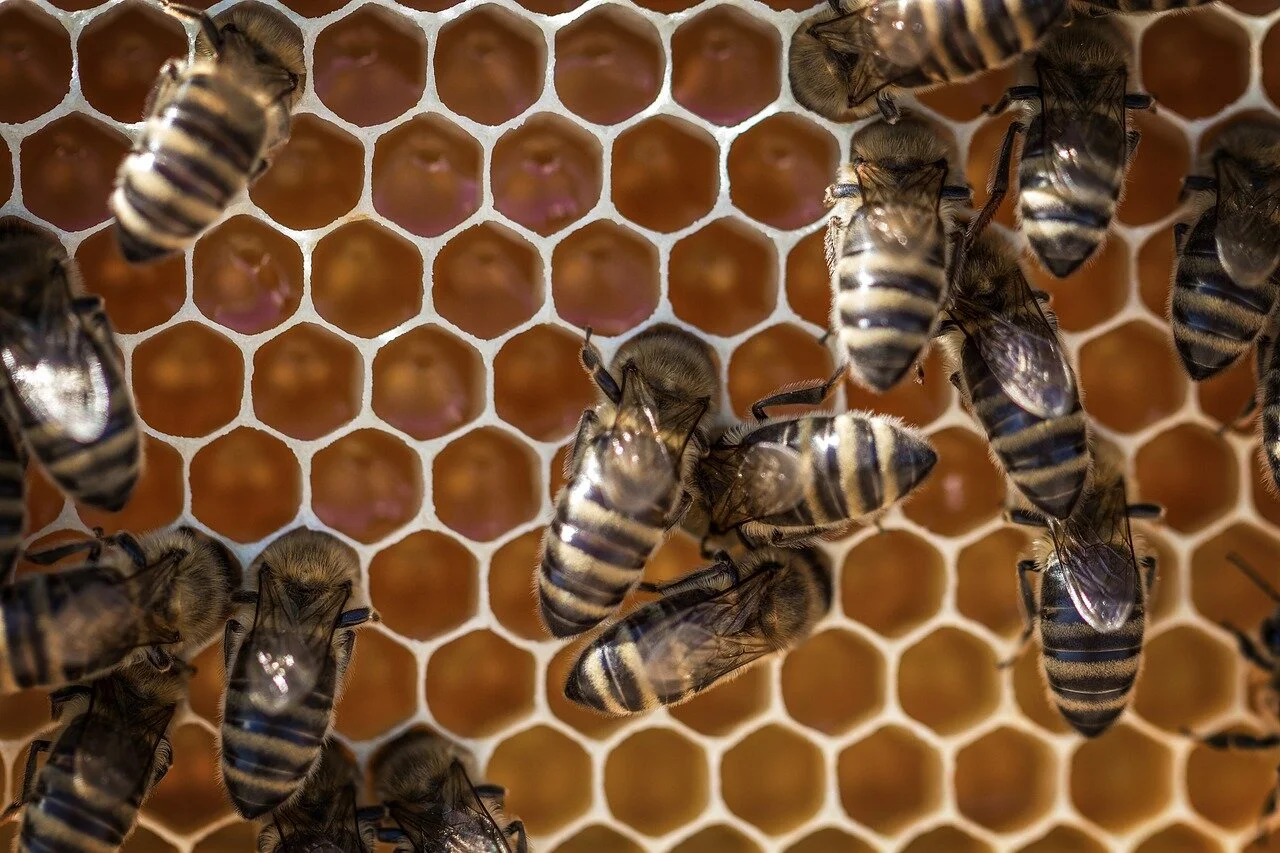
Beeswax, honeycomb and bees


How To Get Them

A quick note before we ‘wrap’ things up. You don’t have to purchase beeswax wraps. If you want to, you can make your own, following the guide of Mountain Rose Herbs. They walk you through both their failures and their successes before they give you the recipe and steps you’ll need. This offers the benefit of being able to size them just how you want or need to best fit your life. On the other hand if you’re thinking “who has the time,” we get it. In that case, a good quality wrap is going to cost you between $6 - $9 for a single one, with the best coming from Abeego. 

After looking all of that over, we think we’re willing to give beeswax wraps a chance in our own kitchens. They seem like a great way to stop fighting with cling wrap, and keep a little more plastic out of the landfill. What about you? Are you looking at getting some or making some of your own? Let us know in the comments below or over on our Facebook page. If you’re willing, we’d even love to see some pictures of the process! 


Now, if you landed here not because you’re looking to remove plastic from your kitchen, but because plastic melted in your dishwasher, we can still help. Or if you’re having any other issues with your major appliances, from your fridge to your ice maker, your dryer to your oven. At Appliance Rescue Service, we aim to be the best in the Colony, and that means taking the best care possible of YOU our clients.  You can get hold of us here on our website or via phone at ((214) 599-0055). We hope to see you next week.