Green

8 Ways to Whiten Your Clothes When You Don’t Have Bleach

Because you don’t always have it on hand. 


Table of Contents: 

The Sun

Lemons

Baking Soda

Powdered Dish Detergent

Aspirin

Distilled White Vinegar

Borax

Hydrogen Peroxide


Have you ever bleached your favorite shirt one too many times? It starts to wear and have thin spots. Whether it's a set of sheets or an article of clothing, bleach will eventually 'eat' at the fabric as much as it eats at the stains. There are also other concerns with using bleach. It can cause skin irritation or burns if not properly diluted, it can make you dizzy from breathing in fumes. As if that isn’t enough, given enough time on your shelf, liquid bleach will break down and no longer be functional. Fortunately, there are plenty of options that you can use instead of turning to bleach that will preserve your clothing. 


Item Used: The Sun(!)

Soak Time: NA

Water Temperature: NA


This is the only one in our list that is applied after you’ve washed your clothing, and that’s why it’s going first. And, it’s the SUN. For this you need to turn your clothes inside out after washing them and then hang them on a clothesline outside. While the sun will whiten  whites, it can also fade your clothes if they have other colors on them. Using this method also means that you will be cutting your electric bill some, as well as making your clothes smell nice. 


Item Used: Lemons

Soak Time: 2 hours or overnight

Water Temperature: Hot Water 


If you need to get rid of set-in stains,  grab a few lemons. You can use these delicious fruits in one of two ways. You can either soak the clothes for 2 hours, or you can soak them overnight. Either way, you're going to want to slice your lemons into slices about 1/4" thick,  and use more depending on how much dirt there is. We estimated at 1 lemon for a standard level of dirt and 2 lemons if you're dealing with more. 

Lemon Slices  will whiten your clothes and make them smell wonderful


Item Used: Baking Soda

Soak Time:  standard wash

Water Temperature: standard wash


If you want to whiten your whites in a "set it and forget it way," try this. Note: This method is only going to work if you have a top-loading washing machine. 

Start by setting your machine to the desired load settings, but don't add your clothes yet. Instead, let the drum fill with water. Once it has grab 1/2 cup of baking soda and add it to the water, stirring the water if needed until the baking soda has fully dissolved. Once that's done, add in your clothes and let the machine run as normal. 


If it's a larger round of laundry you can put in as much as 1 cup of baking soda. 


Item Used: Powdered Dishwasher Detergent

Soak Time: 30 minutes

Water Temperature: Hot 

If you don’t have bleach but you do have powdered dishwasher detergent, you’re in luck. Although this post is mostly about avoiding using bleach, we know that there are some occasions when you’re short on time and you need that stain busting power fast. Most dishwasher detergents of the powdered variety contain sodium hypochlorite. This will whiten most whites, but it works especially well on natural fibers like cotton, wool, hemp and linen. 


To use this you’ll want to use ¼ c per 1 gal of hot water. Mix the two and ensure that the detergent has fully dissolved before adding your clothes. Allow them to soak for 30 minutes before rinsing in cold water and transferring them to the wash. 


Item Used: Aspirin

Soak Time: Several Hours

Water Temperature: Boiling

When in doubt, if you have nothing else in your house, head to your medicine cabinet. If you have aspirin tablets, you’re in luck. For this, you’re going to need 10 tablets for every 1 gallon of water. 

Grab a large pot, and figure out how much water you need to cover whatever it is you’re working on without overcrowding the pot. Now remove the clothes and set the pot to boil. While that’s working, count out the number of tablets you need and start to crush them. You want them to be in a fine powder before you add them to the water. They’ll dissolve more easily that way. Once the water is at a boil add the powder and stir till it’s dissolved. Now remove from the heat and add the clothes to the mixture. Allow them to soak until the water is cooled. 


If you crush up aspirin you can use it to whiten your laundry

Item Used: Distilled White Vinegar

Soak Time: Several Hours

Water Temperature: Warm Water


DIstilled white vinegar is an item many of us keep in our homes. From recipes to cleaning, it’s a staple in many homes.  You can use it for softening clothes, getting rid of that gross musty and mildew-y smell that towels seem to pick up, AND for whitening your whites. 

There are two ways you can use it. You can either wait until the last rinse cycle of a wash and add in ¼ c to the load. Or you can get a basin of warm water, add 1c to it and then soak the clothes for a few hours.  It depends on how bad the stain or smell is, and what your schedule looks like.  


Item Used: Borax

Soak Time: 30 min or longer

Water Temperature: Warm

Borax is one of those household superheroes that we don't really think about. There are many different sites that proclaim its many uses around the home for everything from getting rid of bugs to removing stains and residue on your clothes. But, we're willing to bet that at least 50% of you don't have it in your homes. (Not that we blame you, you can't keep /everything/ in your home.) 

For a gallon of warm water, you'll mix in 1/2 c of borax and swish it around until it dissolves. Then add in your clothes and allow it to soak. You can use this on most clothing, without having to worry. We do recommend avoiding delicate items though, just to be safe. 


Item Used: Hydrogen Peroxide

Soak Time: 30-60 minutes

Water Temperature: Wash Standard

Hydrogen peroxide, H202, or “the bubbly stuff you put on cuts,” whatever you call it, you’re bound to have it in your medicine cabinet. It’s wonderfully useful stuff that can be used several different ways to help with laundry. 

If you’ve got a standard load that needs some whitening: When you go to start your load of laundry, pour in 1c of 3% hydrogen peroxide into the detergent or bleach dispenser. You can use this as it’s own secondary wash, or you can include it as part of a standard wash cycle. Either way, continue to load and run your machine from there. 

If you’ve got set in stains that need help: Grab some liquid dish soap from your kitchen (we suggest Dawn as that’s what we’ve used to best results.) Apply a few drops of that to your stain and then pour the peroxide over it. You need enough to soak the stain and the area around it. Now grab a small scrub brush and scrub for a minute or so. Set the item aside and leave it alone for at least an hour.  When you’re ready to wash it, come back, rinse it with cold water and then toss it in the wash. 

If you’ve got underarm stains turning your shirt grey:  Mix up equal parts water, hydrogen peroxide and baking soda. Apply the paste to stains and let it set for 30 minutes to 1 hour. Once your done scrub off the paste into the trash, we advise using a scrub brush. Now wash as normal. 


With all of that said, what do you think? Which of these did you know of? which ones had you never heard of till now? Do you have any family tricks that we missed? Let us know in the comments below or over on Facebook


If you're here because your washing machine is broken, or any of your major appliances really, we can help. Fridges, ovens, stovetops, ice makers, washing machines, and dryers, we service them all. If yours has decided to start giving you trouble, now is the time to call and set an appointment so we can get things back into working order for your home. Even if you're just uncertain about a particular sound or how something is working, we're happy to help. We do repairs as well as maintenance checks on all major appliances in the hope of keeping your home running smoothly. You can reach out to us by phone at ((214) 599-0055) or by going to our website

Beautiful clean white clothes

Dishing on Beeswax Food Wraps

Are they worth the hype, or not worth the buzz?


If you’re looking at greening up your kitchen routine, you’ve almost certainly looked at ways to store food without plastic. Silicone bags and containers, glass jars, stainless steel containers, or stretchy non-plastic lids. But the silicone comes in set sizes, and they’re expensive. Glass jars break, and stainless steel everything gets not only heavy, but LOUD. And the stretchy lids? Those break too. You love plastic wrap for its versatility, and ease, there has to be a way to use something similar. Lucky you, there is, and you’ve probably seen it. Beeswax reusable food wraps. They’re reusable, come in multiple sizes, and if you’re of a DIY bent, you can actually make your own. 


The Good 

Straight off the bat, let’s answer the question you’re here for. Are beeswax reusable food wraps any good for preserving food? Yes, they are. You can use them for preserving fruits, vegetables, cakes or leftovers. You can use them to cover dishes, wrap around a sandwich or just wrap half an onion. Using them for a replacement for storing food in the short term, is perfect in our opinion. The fabric will eventually wear out, but this means that they can be used in your garden or as a  fire starter, so you’re still keeping waste out of landfills. 


Now, those of you paying close attention might notice that we stressed only using these for short-term storage. In researching, we found that the wraps did best at preserving foods between 1-3 days. Our favorite maker, Abeego, claims that their wraps keep food fresh for up to a week. So if you’re taking a dish for lunch, or you’re going to use the rest of that avocado in dinner a few days from now, they’re ideal. 


The Bad


However, if you’re looking for storing something for longer than a week, we suggest looking for something else. They do have a few other drawbacks, but this is the biggest. As to what those other drawbacks are, they all have to do with the construction of the wraps. Thanks to the wax coating, you will get a light coat of wax and oil on your hands or dishes when using them. This is inevitable since it’s your body heat that makes the wraps pliable for use. Fortunately, this is food-safe wax and easily washes off. As we just mentioned, your body heat melts the wax. You need that in order for it to be shaped and to seal to itself. However, this also means that you don’t want to leave the wraps near your stove or exposed in your car, or somewhere else where it will be very warm.  

Now that you know what they’re good at and what they’re not, some of you have hopefully decided still to purchase them. That’s great! We’ll show you how to take care of them. 


How To Care For Them


For cleaning them, you can either brush them off or wash them. Brushing them off works when you’re dealing with a dry food like cake, or bread. Something that’s going to be just crumbs. When washing them you need to use cold water, soap and a soft sponge. Wash carefully and then lay it out to dry. For storage, you can either roll your wraps onto  roll similar to plastic wrap, or you can fold them. Taken care of properly, a good wrap will last roughly a year before the wax ‘gives out.’ Now, provided the weave of the fabric is still solid at the end of that year, you can ‘revive’ your wraps. The Art of Doing Stuff shows you how over at their blog. This means that you can continue to use your wraps even longer, saving your wallet. 

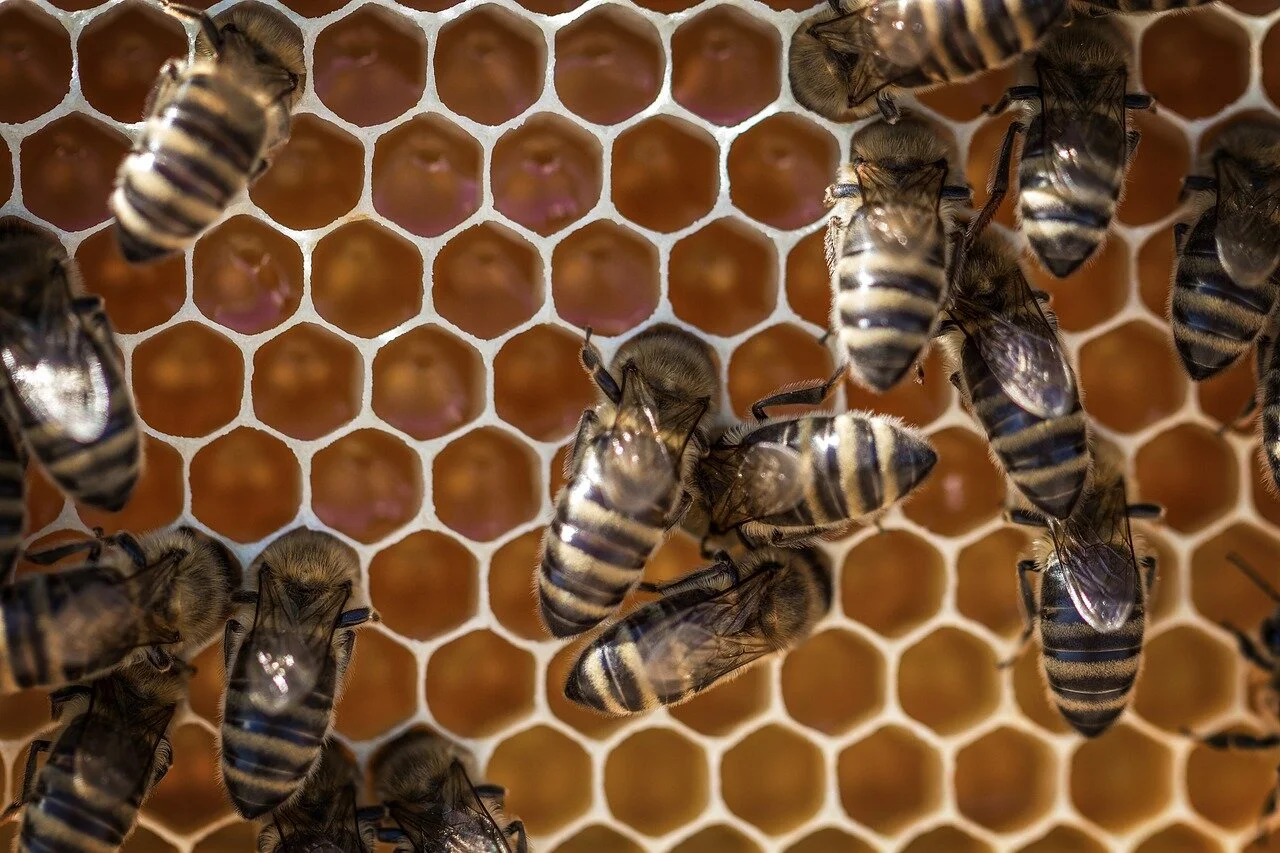
Beeswax, honeycomb and bees


How To Get Them

A quick note before we ‘wrap’ things up. You don’t have to purchase beeswax wraps. If you want to, you can make your own, following the guide of Mountain Rose Herbs. They walk you through both their failures and their successes before they give you the recipe and steps you’ll need. This offers the benefit of being able to size them just how you want or need to best fit your life. On the other hand if you’re thinking “who has the time,” we get it. In that case, a good quality wrap is going to cost you between $6 - $9 for a single one, with the best coming from Abeego. 

After looking all of that over, we think we’re willing to give beeswax wraps a chance in our own kitchens. They seem like a great way to stop fighting with cling wrap, and keep a little more plastic out of the landfill. What about you? Are you looking at getting some or making some of your own? Let us know in the comments below or over on our Facebook page. If you’re willing, we’d even love to see some pictures of the process! 


Now, if you landed here not because you’re looking to remove plastic from your kitchen, but because plastic melted in your dishwasher, we can still help. Or if you’re having any other issues with your major appliances, from your fridge to your ice maker, your dryer to your oven. At Appliance Rescue Service, we aim to be the best in the Colony, and that means taking the best care possible of YOU our clients.  You can get hold of us here on our website or via phone at ((214) 599-0055). We hope to see you next week.


Just How Green Is Your Kitchen Routine?

Do you have room to grow or are you the reigning royalty? 


How green is your kitchen routine really? Sure, you recycle some things, and you work on cutting down your electric bill. But is there more that you can do, without having to go overboard? That's what we're tackling this week with a quick true or false quiz. We'll take a look at different things in your kitchen and what you can do to start making a change in your home. 


True or False: Cooking isn't somewhere you can conserve energy. 

Surprisingly enough, this is false. There's actually a couple of different ways that you can tackle this one. You can start by just not opening your oven while you're cooking or baking. Just like with your fridge, every time the oven door is opened it needs to bring the oven back up to temperature, which means more electricity used. You can also look at reorganizing how you cook your meals. Using an instant pot or making one-pot meals both go a long way towards reducing the amount of energy you're using without being too time-consuming. You've also got batch cooking. By that we mean that you'd do most of your cooking just one or two days during the week. You'd organize your meals for the week so that you used similar components several times, in different ways, you're cutting down on both energy used, grocery money and saving yourself time. 


True or False: I know what cleaners I can make at home, and which I need to purchase. 

This one is as much about being green as it is about being safe. Some cleaners you can make at home, like everyone's favorite mix of vinegar, water and dish soap. Others, like CLR aren't something you want to try mixing, no matter what internet recipes say. Remember, chlorine is not something you should EVER be mixing with other chemicals. 


True or False: My refrigerator is performing at optimal cool. 

This is one we've talked about in the past for cutting down on your electric bill. You can help your fridge run its best, by keeping the coils free from dust, and by leaving enough room for air to circulate in the fridge. So, don't stuff the fridge to the maximum is what we're saying. By packing everything in there, your  fridge can’t breathe and needs to work twice as hard to cool everything down. 


True or False: I let my dishwasher handle the heavy work. 

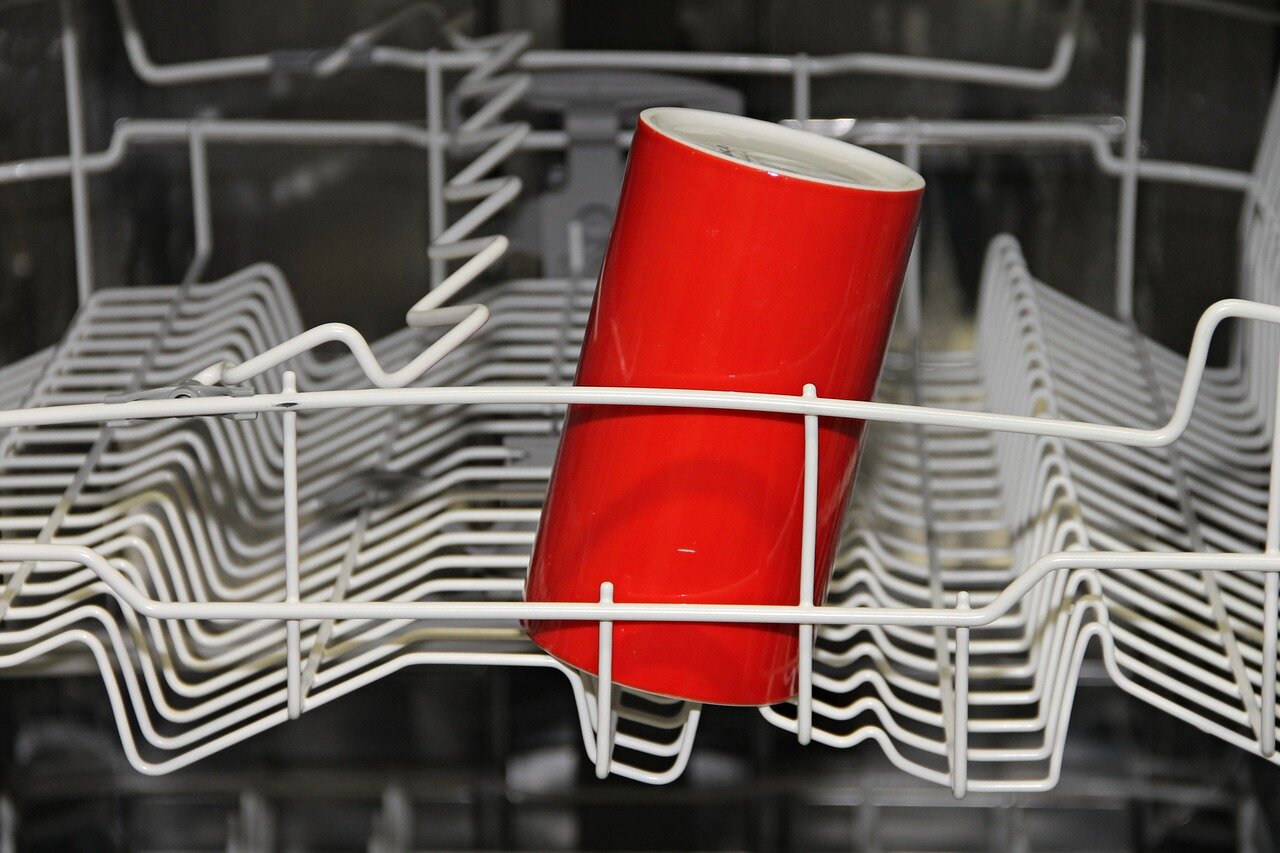
Empty Dishwasher with a single red cup


You've heard it before, but letting your dishwasher run without it being full just wastes your water. If you make sure to run it at night during non-peak hours, and that it's fully loaded, you'd be surprised by how much you can cut back your water and electricity usage. According to Energy Star, you actually save 75% on your water and energy bills compared to washing by hand or running the dishwasher when it's not full. 


True or False: I know all about reusable containers.

reusable water bottles in blue and silver

You have your standard plastic containers, we all know those. But there are other options these days that might be more versatile to your needs. You can get beeswax reusable wraps, instead of using plastic wrap. Or you can get silicone pouches to replace using ziploc bags. You can also choose to replace your existing plastic containers for something like stainless steel or glass. You can even be really smart and use all of the glass canning jars from different crafts you meant to do off Pinterest. 


True or False: If I buy it, I'm going to find a way to reuse it. 

Speaking of Pinterest, have you ever noticed how many different ideas there are for how to reuse things? You have so many options ranging from containers made from coffee creamers to using soda bottles to make ropes. 


True or False: A leaky faucet isn't that big of a deal. 

Nope. Your blogger thought this wasn't that big of an issue either, and was summarily trounced by her next water bill. A faucet that leaks at 1 drop per second can add up to more than 1500 gallons of water per year. Which means the water isn't being utilized, and it's also costing you. 

So how did you rank? Did you learn anything new or are you the green kitchen queen or king? Let us know in the comments below or over on our Facebook page, we'd love to hear from you. We'd also love to hear any other suggestions you might have on how to green up other areas of your home. 


While we did talk quite a bit about cutting back on your electric and water bills, there's something else that you can do to help. By calling in for regular maintenance for your appliances, you also help cut back on those bills. After all, a machine that isn't running properly isn't going to be using energy efficiently. Whether you want us to take a look and give you tips, or you  have something you need fixed, we're here. We want to be the best in appliance repair for Frisco and that means doing our best by you, our patrons. You can reach out to us via our website or by calling us at ((214) 599-0055). 

fabric bag with the reduce reuse recyle symbol on it, three triangles wrapped around the globe