Self-cleaning technology can save time, but it’s not the hands-free miracle many homeowners expect.
There are few appliance features that sound more magical than “self-cleaning.” It’s right up there with “maintenance-free” and “smart technology” in the grand kingdom of homeowner wishful thinking. The phrase practically paints a picture on its own: you press a button, walk away, and return later to a sparkling-clean appliance that somehow handled everything without your involvement. Tiny robotic janitors included at no additional cost.
Reality, however, is a little less cinematic.
Modern self-cleaning appliances absolutely can make life easier. In many cases, they save homeowners a significant amount of scrubbing, chemicals, and time. But after digging through manufacturer guides, appliance experts, and service recommendations, one thing becomes very clear:

Courtesy of InteriorLens
“Self-cleaning” does not mean “maintenance-free.”
In fact, nearly every self-cleaning appliance still expects homeowners to prep the appliance beforehand, monitor the process, clean up afterward, and perform regular upkeep in between cycles. The self-cleaning feature reduces work. It does not eliminate it.
And honestly? That distinction matters more than appliance marketing tends to admit.
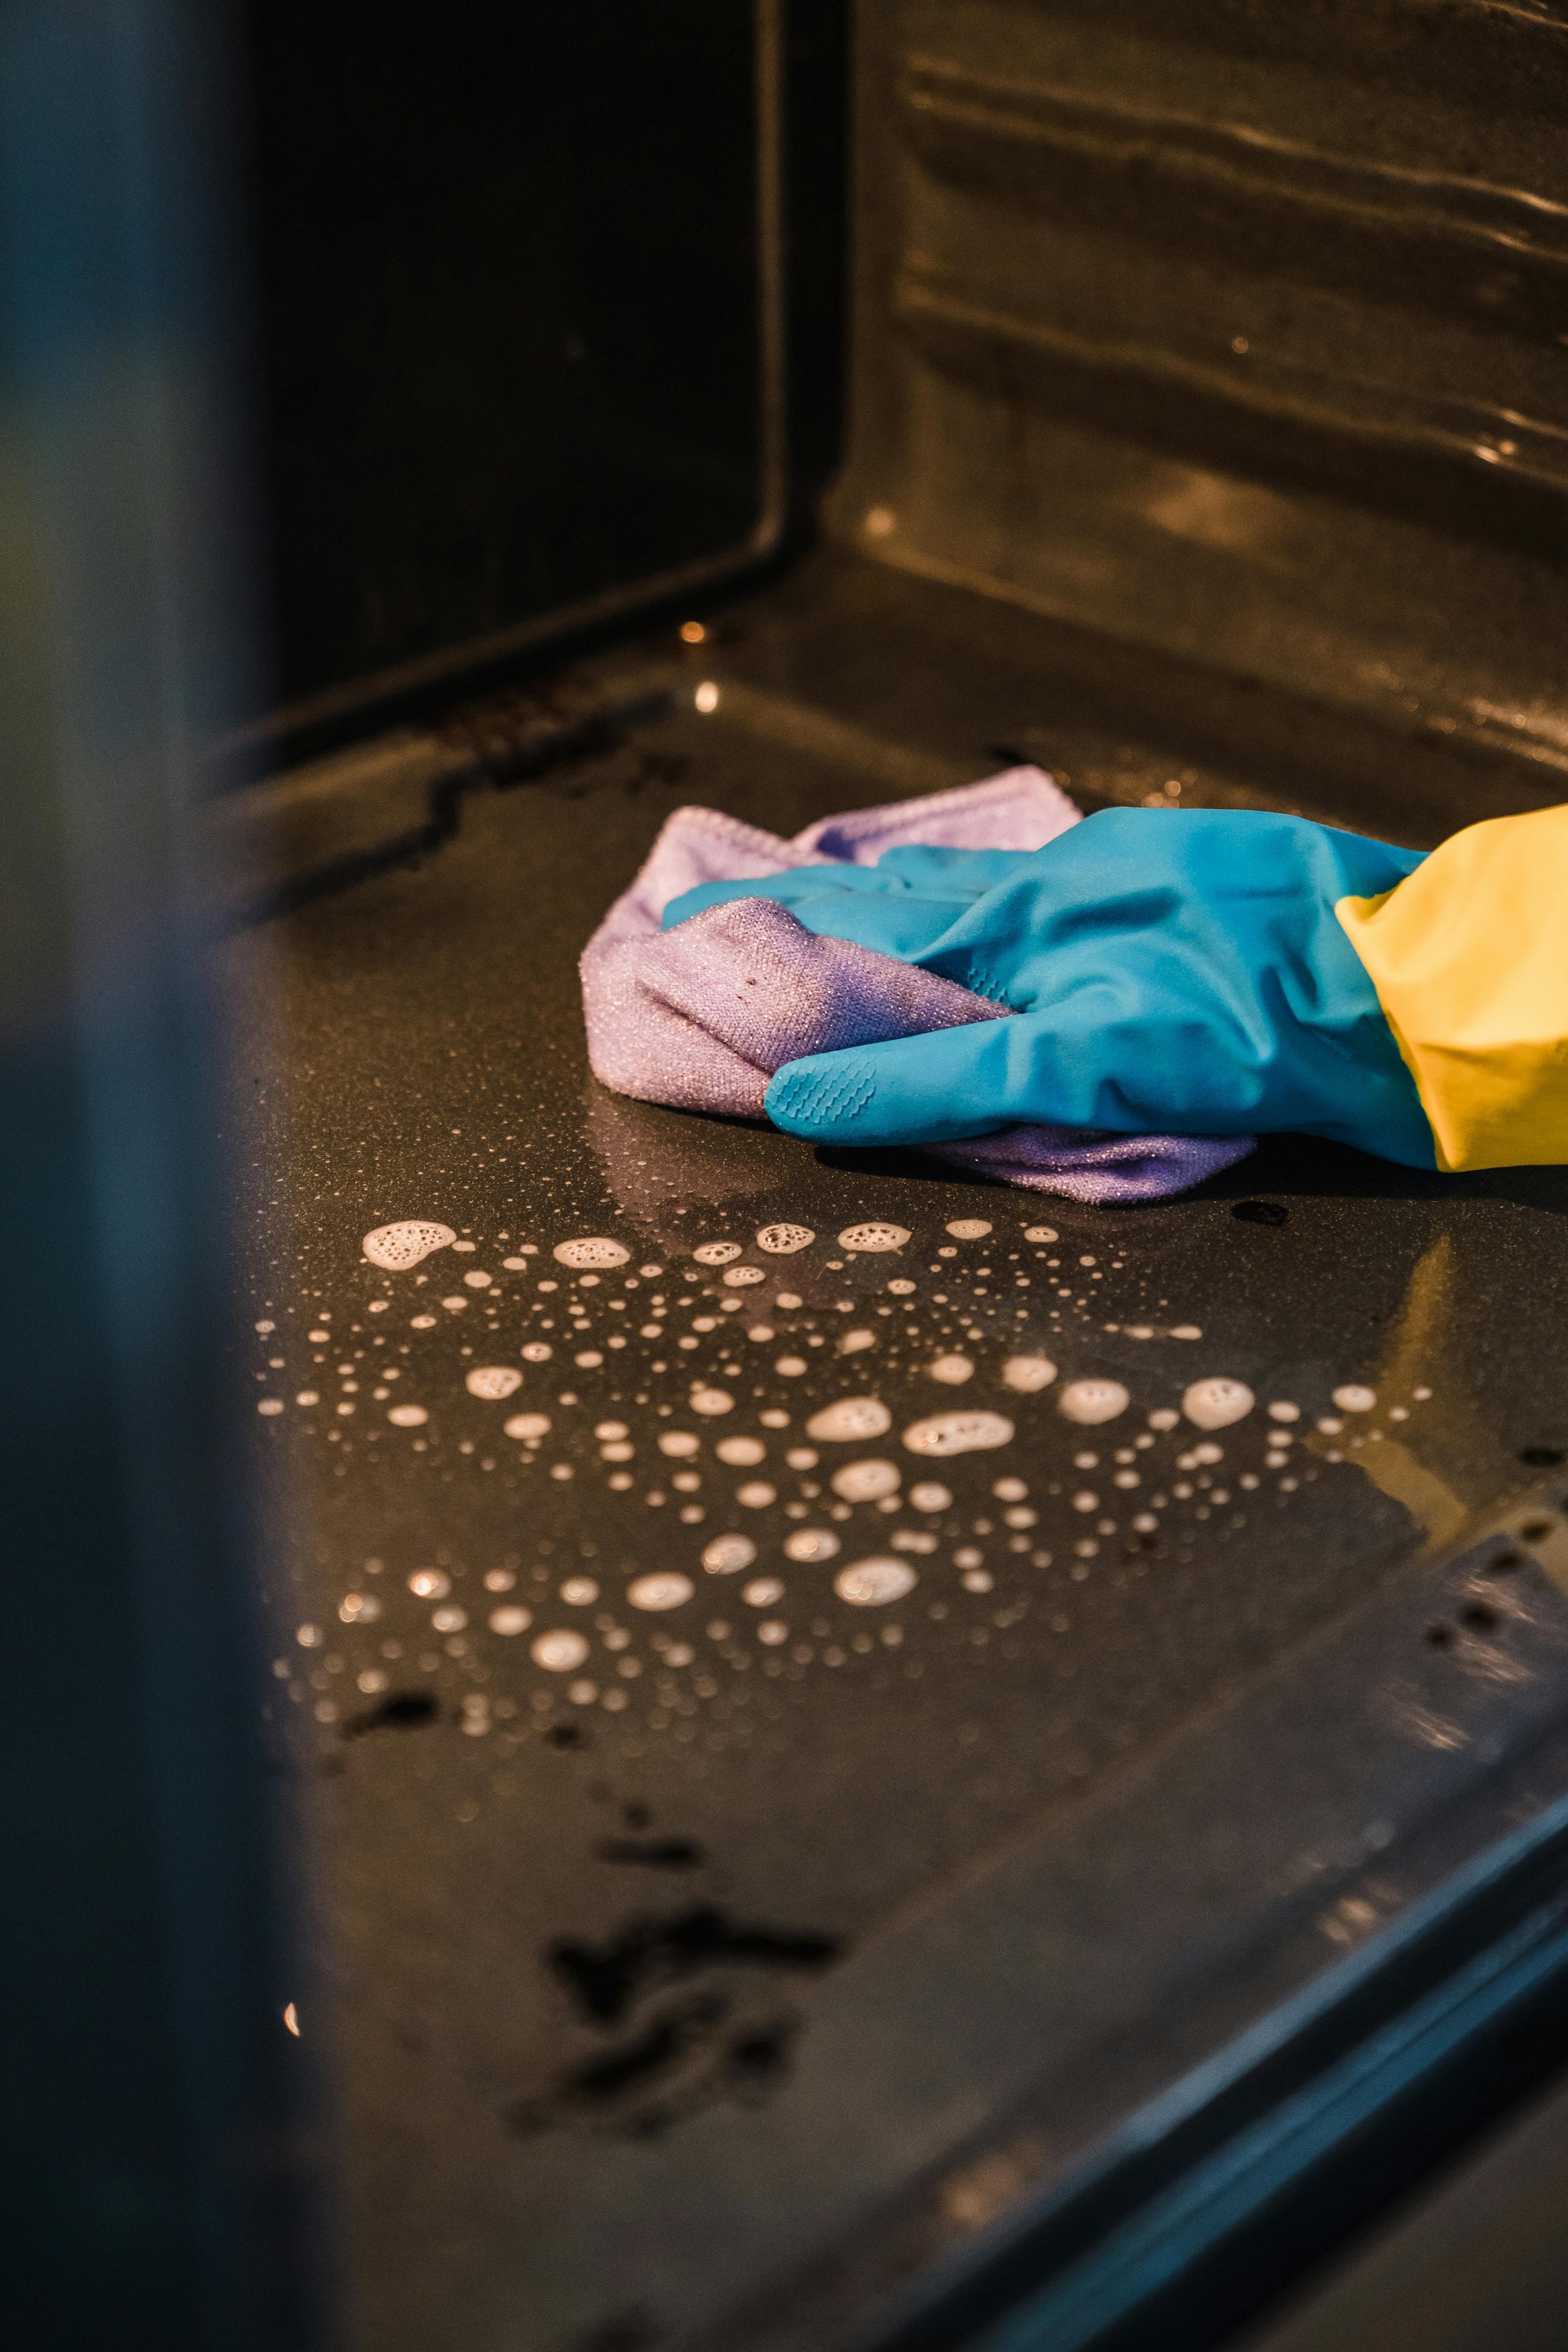
Take self-cleaning ovens, for example. These are probably the most recognizable version of the feature. Traditional self-clean cycles use extremely high temperatures, often between 800 and 1,000 degrees Fahrenheit, to incinerate baked-on grease and food residue until it turns into ash. Steam-clean ovens take a gentler approach, using water and lower temperatures to loosen debris so it can be wiped away later.
Both sound wonderfully convenient. Both still require homeowner participation.
Before running the cycle, most manufacturers recommend removing oven racks, pans, aluminum foil, and loose debris. Many also recommend wiping up heavier spills ahead of time to reduce smoke and odors during cleaning. Then there’s the ventilation issue. Nearly every source emphasizes opening windows, turning on range hoods, or running exhaust fans because self-clean cycles can produce smoke, fumes, and unpleasant smells.
In other words, your oven is technically cleaning itself… while you prepare the room like you’re about to launch a small weather experiment in your kitchen.
And even after the cycle finishes, the job still isn’t over. Once the oven cools, homeowners still need to wipe away the leftover ash or loosened grime. Steam-clean models especially may require additional scrubbing for stubborn spots.
Courtesy of Liliana Drew
That doesn’t make the feature useless. Far from it. For homeowners who cook frequently, self-cleaning ovens can dramatically reduce the amount of manual labor involved in deep cleaning. But there’s a meaningful difference between “reduced scrubbing” and “no cleaning required.”
The same pattern shows up in washing machines.
At first glance, the idea of a washer cleaning itself feels almost ridiculous. Isn’t that already its entire job? Yet multiple manufacturers now include self-clean or tub-clean cycles designed specifically to combat detergent buildup, moisture, mildew, and odors inside the machine.
Because apparently the appliance that cleans your clothes occasionally needs a shower of its own.
Unlike oven self-cleaning cycles, washer self-clean systems are generally less dramatic. They typically use hot water, spinning action, or cleaning agents to help remove residue inside the drum and internal components. Some recommend bleach, others vinegar, and some say no cleaner is necessary at all.
But once again, the feature isn’t fully automatic.
Manufacturers still recommend leaving the washer empty during the cycle, wiping seals and gaskets afterward, allowing the interior to air dry, and running these cycles regularly as preventative maintenance. Several brands even include reminder lights that illuminate after a certain number of loads, essentially nudging homeowners with the appliance equivalent of, “You know… we should probably deal with this.”
And honestly, that may be the most revealing part of the entire self-cleaning trend.
These appliances aren’t really replacing maintenance. They’re organizing it.
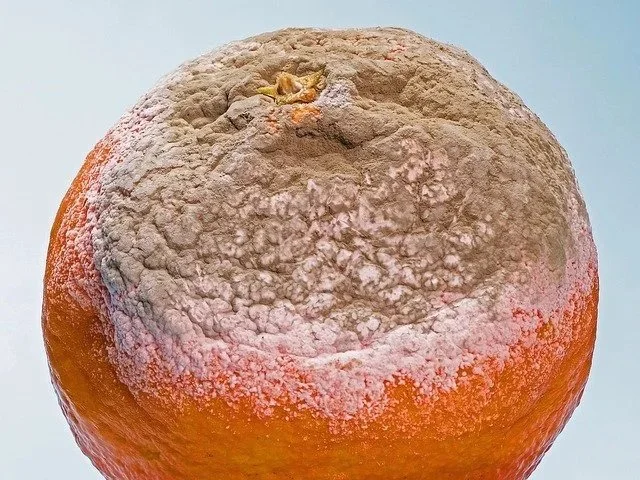
The real purpose of many self-cleaning systems seems to be reducing buildup before it becomes overwhelming. Steam-clean ovens work best for lighter messes. Washer cleaning cycles help prevent mold before odors become severe. Even high-heat oven cleaning works better when spills are cleaned regularly instead of being left to fossilize into carbonized lasagna geology over several holidays.
That’s why many appliance experts repeatedly recommend lighter, more frequent upkeep rather than waiting for one heroic deep-cleaning session.
Which, if we’re being honest, is probably the least exciting but most accurate lesson in all of this.
There’s also an interesting gap between marketing language and homeowner expectations. The phrase “self-cleaning” naturally suggests independence. It sounds autonomous. Effortless. Almost futuristic. But the actual instructions attached to these features tend to read more like a collaborative group project.
Remove this.
Wipe that.
Ventilate the room.
Stay nearby.
Don’t leave the house.
Wait for cooldown.
Clean the residue afterward.
Some ovens even lock themselves during the cleaning process because the temperatures become so extreme. Others warn homeowners to keep pets away from the kitchen due to fumes or smoke sensitivity.
Again, none of this means the feature is bad. In many homes, these systems are genuinely helpful. They reduce chemical cleaner use, save time, and simplify difficult chores. But they also quietly reveal something important about modern appliances in general:
Convenience features rarely eliminate responsibility. They mostly redistribute it.
The dishwasher still needs filter maintenance.
The washer still needs cleaning.
The oven still needs wiping down.
The refrigerator still needs its shelves cleaned after the pickle jar leaks for the third time this year.
“Self-cleaning” turns out to be less of a magic trick and more of a partnership agreement.
And perhaps that’s the real takeaway homeowners should keep in mind while appliance shopping. The best self-cleaning feature is not the one that promises perfection. It’s the one that realistically makes regular maintenance easier, faster, and more manageable for the way your household actually lives.
Because in the end, no appliance completely replaces upkeep.
It just changes how much scrubbing you’ll need to do before your next dinner party.
Of course, none of this means self-cleaning appliances are a gimmick. For many homeowners, they genuinely make life easier. A self-cleaning oven can save hours of scrubbing. A washer’s cleaning cycle can help prevent odors and buildup before they become bigger problems. These features absolutely have value.
The key is simply understanding what they actually do.
“Self-cleaning” appliances are best viewed as maintenance partners, not maintenance replacements. They help reduce the workload, keep buildup under control, and make regular upkeep more manageable for busy households. But like most things in homeownership, a little attention along the way usually prevents much bigger headaches later.
And when something doesn’t seem quite right, whether it’s unusual odors during a self-clean cycle, a washer that still smells musty afterward, or an oven that simply isn’t performing the way it should, it helps to have experienced professionals you can trust.
At Appliance Rescue Service, we help homeowners keep the appliances they rely on running safely and efficiently. From ovens and ranges to washers, dryers, and dishwashers, our team understands that modern appliances are packed with features, but they still need proper care and occasional expert attention.
Because even in the age of “self-cleaning,” sometimes the smartest feature a homeowner can have is a reliable repair company in their corner.

Courtesy of agata822